Hightee's Guide to Textures
-
With the new workflow in the 64bit Client, making new textures is now much easier! First off you will need a few things to get started. You will also need some form of image editing software, like Photoshop or Paint.net for a free version. In these examples I will use Paint.net to show how you can make stuff for free. There is a few tools that Rezec has made that are used as well that I will cover as I get to them.
Step 1: Find an item you wish to recolor
This will require access to either a copy of the .GLB or .PNG file you wish to edit. For this example I will be using this .PNG file of the stormtrooper chestplate.
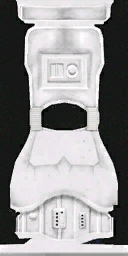
Step 2: Recolor your .PNG in your image editing software of choice.
This part just make sure you keep the overall design the same. Some of these textures will look really weird, and make little sense sometimes, but its how the game reads the texture and "wraps" it around the ingame mesh. So its really important to keep the overall design if you want it to render correctly ingame.
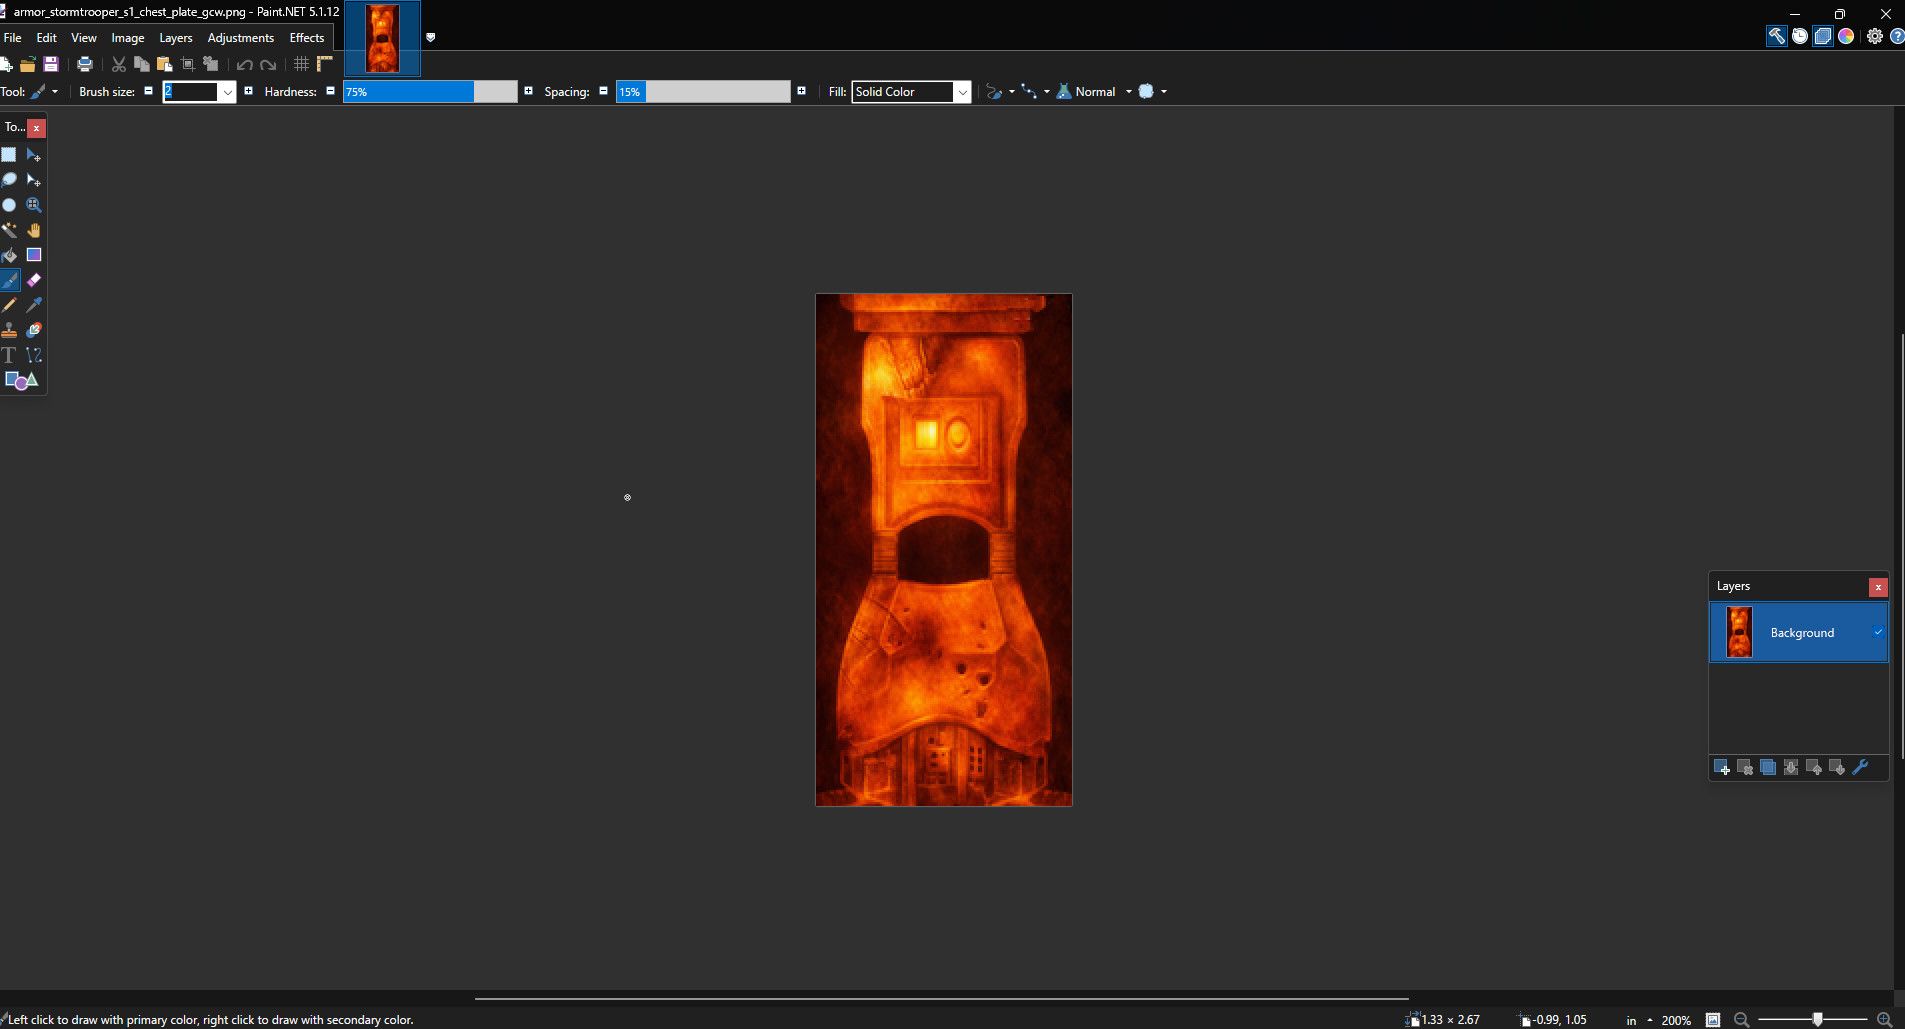
Here is my recolored texture in my editing software. Notice I kept the overall design so it will hopefully match the ingame assets. Once your happy with your result you wanna save it, make sure to keep the resolution in multiples of 4 (256, 512, 1024, etc.).
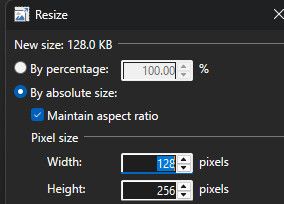
Step 3: Convert the .PNG to a .DDS
Next you are gonna need to convert this file to a .DDS file the game can use. I save all my stuff to my Evolve directory for easy of use, but you can do it however you like, just keep track where you are saying this stuff
 Next you will run a tool Rezec made if you have access to it. You will need to open command prompt and navigate to where you keep your images and tools provided and run this command. Note your install or drive may be different then mine, so change the lines as needed.
If you did everything right so far, the tool should have made a .DDS file from your .PNG and placed it in your texture folder for you. You will probably need to create these folders ahead of time. Mine looks like this.
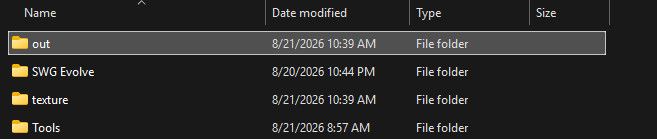
and after I run the tool, my new .DDS file appears ready to be added to the game!
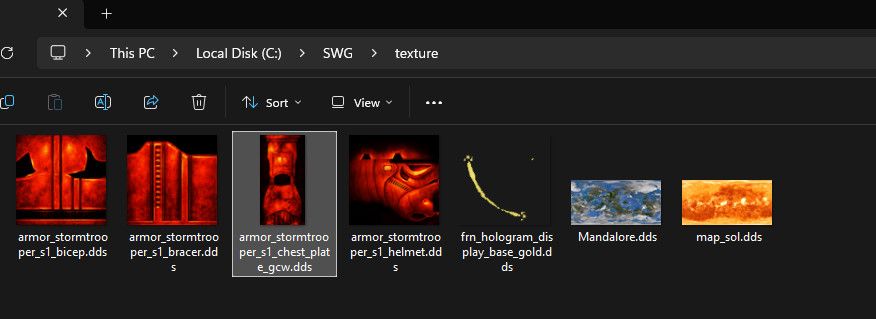
Now the naming of these files is pretty important, and if you are simply recoloring an item, then you leave it the same name as what it was, a new item will require a dev to generate some data on their end.
Step 4: Testing your item ingame.
Next you will need to make a few folders in your game directory and add some info to your custom.cfg.
Add this to your custom.cfg:[ClientObject]
loadGlbMeshes=true
loadGlbSkeletalMeshes=true[SharedObject]
loadGlbPobs=true
preferGlbOverAsset=trueThis will allow the game to read your new textures and meshes you have made. Next add these folders to your game's directory.

And add your new .DDS texture in the texture folder. A new or changed .GLB would go in the other appearance folder.
Next you fire up the game and depending on what you edited, should show up once you are ingame, now this is just on your end. Everyone else will still see stuff as normal. For it to be made for everyone requires a dev to either edit or add the new item or textures to the server. If nothing changes or you dont see your item, then you could have either not added your new texture to the right spot or the file size could be off, or the name was wrong. So make sure to double check your filenames and sizes as you work.
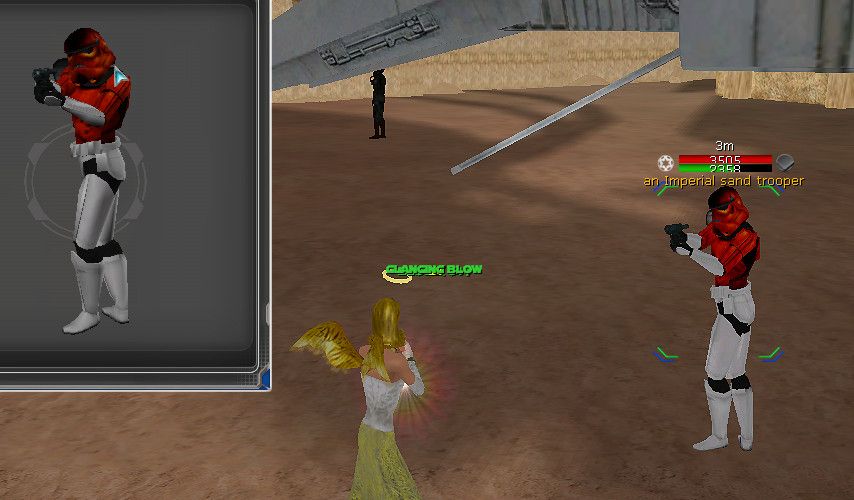
Behold a Pumpkin trooper! WIP

Hopefully this guide atleast gives a general idea how to edit textures. I plan to make a guide on how to edit and make new items soon in Blender, and you will use a similar workflow as this.
-
This is a seriously helpful write-up,especially with all the screenshots showing the texture workflow instead of just saying “convert the files” and leaving everyone to figure it out. The step-by-step approach makes the whole process look a lot less intimidating,and the before-and-after game shots are a nice touch. I’m definitely saving this one. The little details are usually where these old modding projects turn into a rabbit hole.
-
This is a seriously helpful write-up,especially with all the screenshots showing the texture workflow instead of just saying “convert the files” and leaving everyone to figure it out. The step-by-step approach makes the whole process look a lot less intimidating,and the before-and-after game shots are a nice touch. I’m definitely saving this one. The little details are usually where these old modding projects turn into a rabbit hole.
That’s usually how these projects go. You start with one texture and suddenly you’re three hours deep into file formats, naming conventions and tiny details nobody bothered to explain. Having a guide that shows the actual workflow saves a ton of trial and error,especially when one wrong setting can make the whole thing look completely off. Tropical Casino offers entertaining tropical-casino.com experiences filled with excitement.
Hello! It looks like you're interested in this conversation, but you don't have an account yet.
Getting fed up of having to scroll through the same posts each visit? When you register for an account, you'll always come back to exactly where you were before, and choose to be notified of new replies (either via email, or push notification). You'll also be able to save bookmarks and upvote posts to show your appreciation to other community members.
With your input, this post could be even better 💗
Register Login